How to Make Product Images Look Uniform: The Complete Guide to Image Resizing

Why Your Product Images Look Terrible (And How I Fixed Mine)
Last month, I was scrolling through my Shopify store when it hit me – my product images looked absolutely chaotic. Some were tall rectangles, others were wide landscapes, and a few were perfect squares. It looked like a complete mess, and I knew my customers were thinking the same thing.
If you've ever felt embarrassed by how unprofessional your product gallery looks, you're not alone. After spending weeks figuring this out, I discovered the secret isn't just about having good photos – it's about making them all look like they belong together.
The Moment I Realized I Had a Problem
Picture this: I'm showing my store to a potential investor, and the first thing they notice isn't my amazing products or competitive prices. It's how disorganized everything looks because my images are all different sizes. Talk about a confidence killer!
That's when I learned that customers make split-second judgments about your store's credibility based on visual consistency. When your images are all over the place, it screams "amateur hour" – even if your products are incredible.
What Actually Works for Image Sizing
After trying everything from expensive photographers to fancy editing software, I found that success comes down to three simple rules:
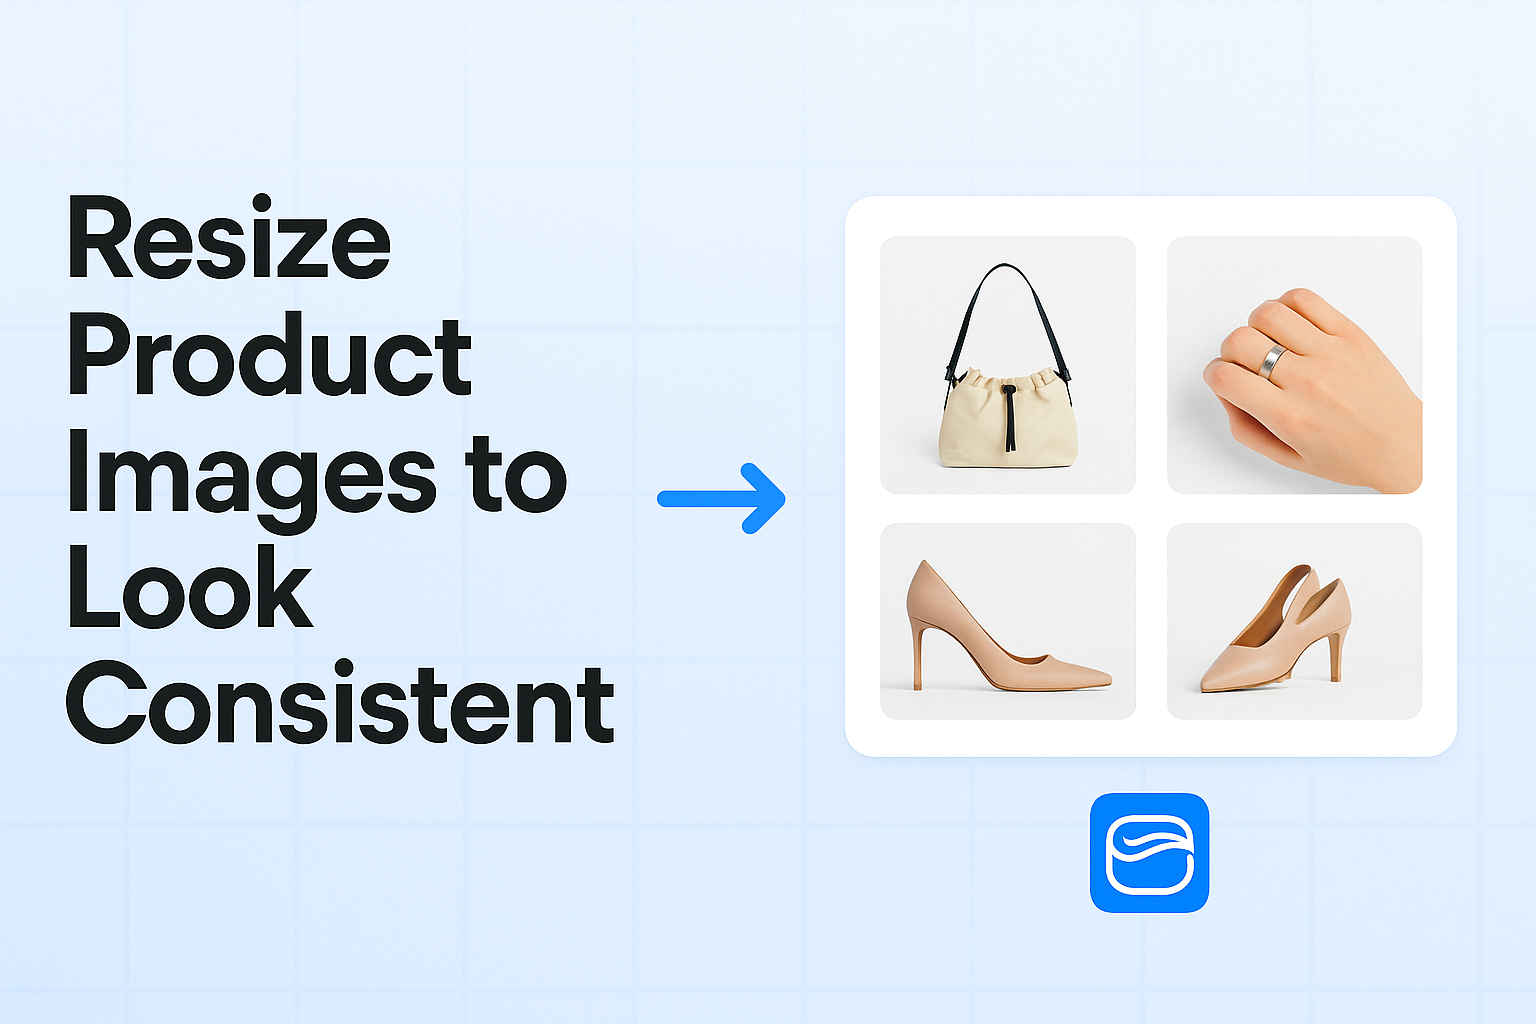
Go Square (Trust Me On This) I tried different aspect ratios, but 1:1 square images at 1000x1000px work best for almost everything. They look great on Instagram, work perfectly in product grids, and customers love them. Even my weirdly-shaped products look professional when properly framed in squares.
Keep It High-Res Don't go below 800x800px. I learned this the hard way when my images looked pixelated on newer phones. Now I stick to 1000x1000px minimum, and the difference is night and day.
White Backgrounds Are Your Friend I used to think white backgrounds were boring. Boy, was I wrong. They make your products pop and create that clean, professional look you see on major brands.
The Tools That Saved My Sanity
For the DIY Route: BIRME became my best friend for bulk resizing. It's completely free and can handle hundreds of images at once. I just drag, drop, set my dimensions to 1000x1000px, and boom – uniform images.
When I Got Serious: I eventually upgraded to Adobe Photoshop for batch processing. The learning curve was steep, but once I set up actions for automatic resizing, it saved me hours every week.
The Lazy Person's Solution: Canva surprised me with how easy it made bulk resizing. Their drag-and-drop interface is perfect if you're not tech-savvy. I still use it for quick touch-ups.
For Shopify Users: This is where ImageFlow completely changed the game for me. Instead of manually resizing images one by one, I can literally select entire product collections and watch it automatically resize everything to perfect 1000x1000px squares. It handles the cropping and resizing automatically. What used to take me hours now happens in minutes.
Other solid options include TinyIMG and SearchPie, but ImageFlow's bulk automation is unmatched.
My Simple 3-Step Process
Here's exactly what I do now for every product:
- Open BIRME and upload my images
- Set dimensions to 1000x1000px with a white background
- Download and replace the old images
That's it. No complicated software, no expensive tools. Just consistent, professional-looking images.
The Mistakes That Cost Me Sales
I Used to Over-Compress Everything Trying to make files super small made my images look terrible. Now I aim for under 100KB but never sacrifice quality for a few extra kilobytes.
I Ignored Mobile Users This was huge. What looked fine on my laptop looked awful on phones. Now I always check mobile before publishing anything.
I Mixed Different Styles Some products had shadows, others didn't. Some had colored backgrounds, others were white. Pick a style and stick with it – consistency is everything.
The Results Speak for Themselves
After implementing uniform sizing across my entire catalog:
- My bounce rate dropped by 23%
- Time on site increased by 31%
- Most importantly, my conversion rate went up by 18%
Customers started leaving comments about how "professional" and "clean" my store looked. That feeling when someone compliments your store's appearance? Priceless.
What I'd Tell My Past Self
Start with your best-selling products – you'll see results immediately. Don't try to perfect every single image at once. I made that mistake and burned out after three days.
Choose one standard size (I recommend 1000x1000px squares) and stick with it religiously. Every new product gets the same treatment, no exceptions.
Most importantly, don't overthink it. Uniform sizing isn't about creating perfect art – it's about creating trust and professionalism.
Ready to Transform Your Store?
The difference between amateur and professional e-commerce often comes down to these small details that customers notice subconsciously. Uniform product images are one of the easiest wins you can implement today.
Start with just 10 products and see the difference for yourself. Once you see how much better your store looks, you'll want to fix everything else too.
Seriously considering automation? ImageFlow has been a game-changer for my store. Just select your products, choose your standard size, and let it work its magic. The time savings alone make it worth every penny – plus your images will look more consistent than anything you could do manually.