Export Images
The image exporting feature in the Image Flow app is a powerful tool that allows users to export product images by selecting products based on various parameters such as vendor, tags, types, collections, categories, and more.
Head over to the "Export" page within the Image Flow app in your Shopify store, where the UI will look something like this.
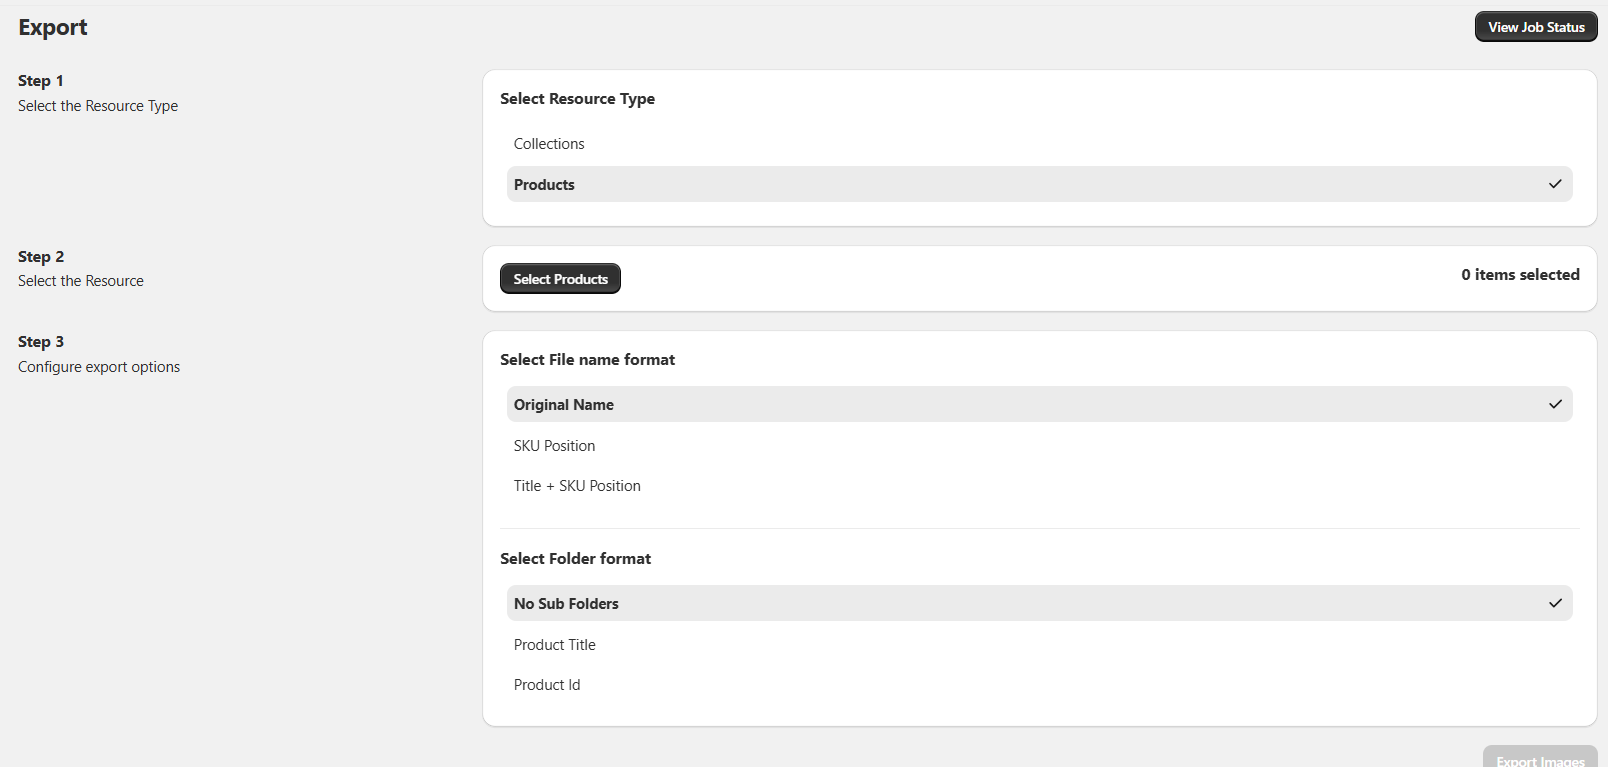
Here, you've got two ways to pick products: you can either select all products from a specific collection or handpick individual ones yourself. Let's go through both options step by step!

Selecting All Products from a Collection
Select the "Collections" option from the "Select Resource Type" step, and select the "Select Collection" button.

A modal will open, showing all the collections your store has.
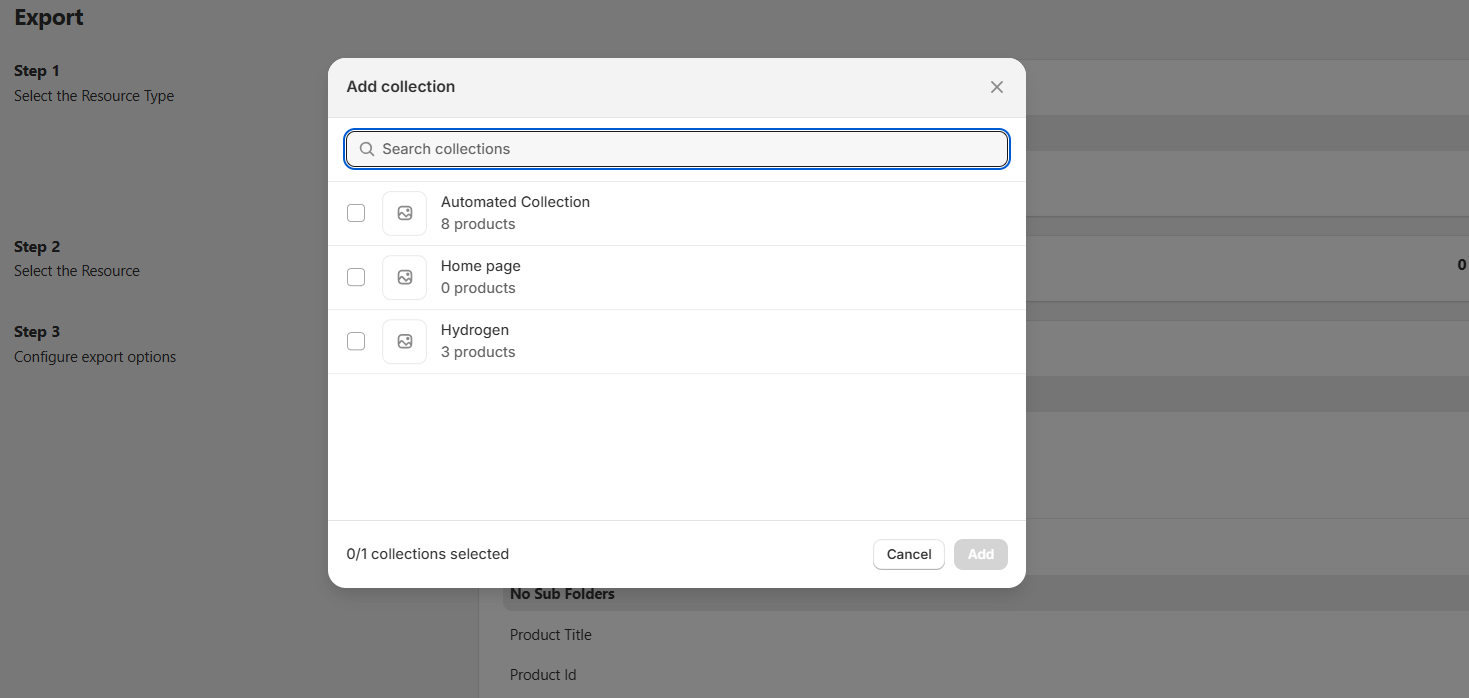
You can then choose the collection you want.
Selecting Products Manually
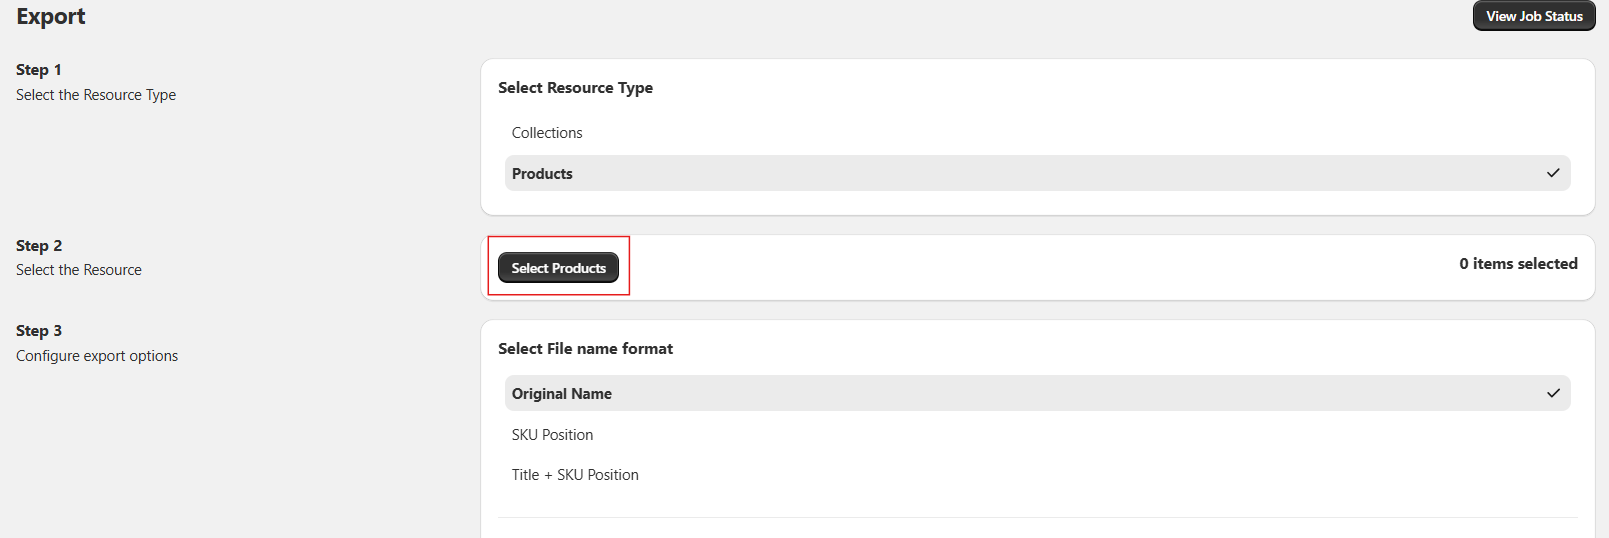
Select the "Products" option from the "Select the Resource Type" step, and select the "Select Products" button.

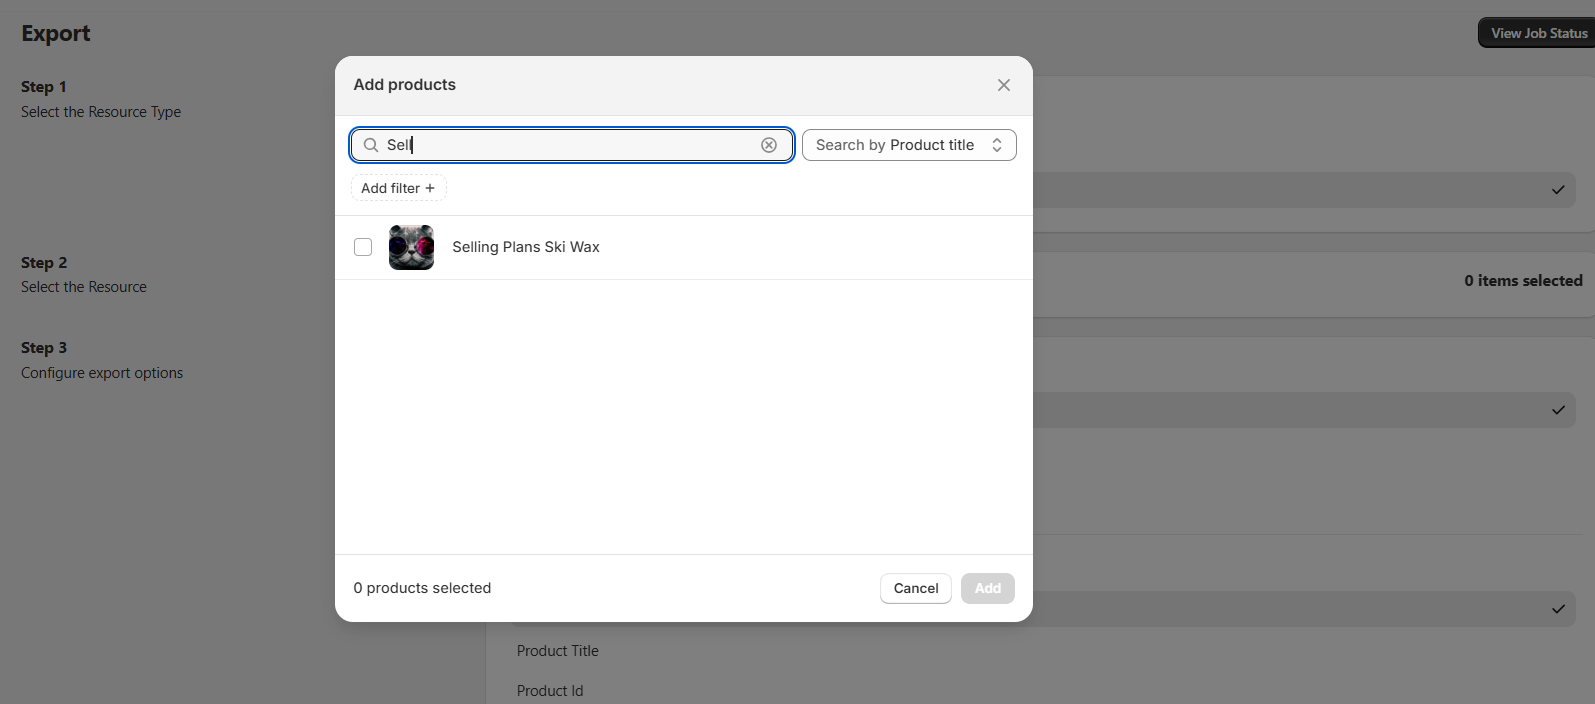
A similar modal will appear, allowing you to manually select products. You can also search for a specific product and select it.
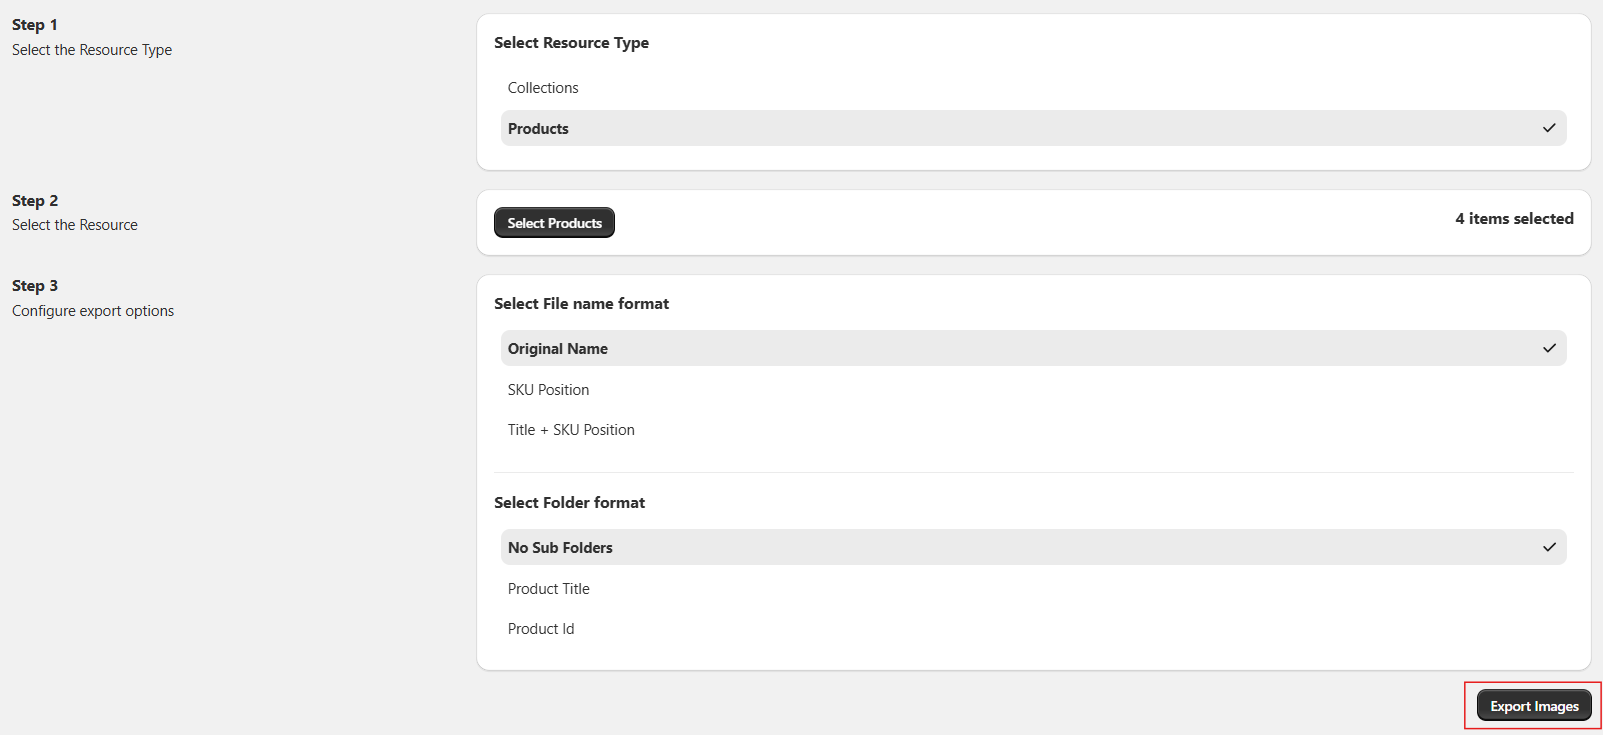
Configuring File Names and Folder Format
Once you've selected your products, it's time to set up how your files will be named and organized into folders for export.
File Name Configuration
The File Name configurations consist of:
i) Original Name - The image name would be the original names of the images.
ii) SKU Position - The image name will be based on the SKU position of the images for each specific product.
iii) Title + SKU Position - The image name would be the Product Title + SKU position of the images for each specific product.

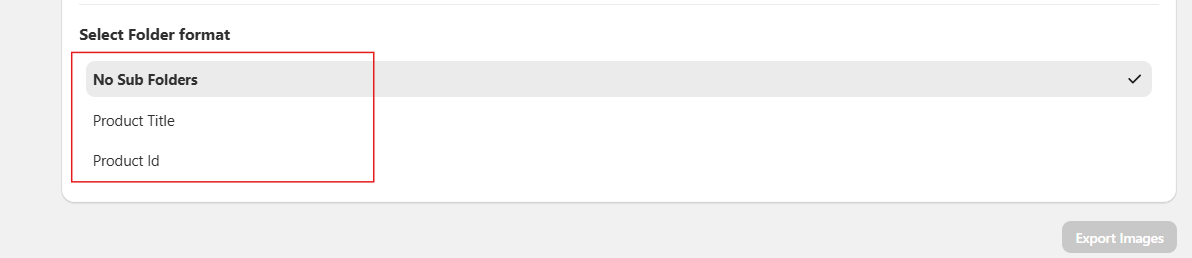
Folder Format
The Folder format decides how the images will be exported in the zip folder.
i) No Sub Folders - All the images will be exported in a single folder.
ii) Product Title - The images will be exported into subfolders for each product, and each subfolder will be named after the product title.
iii) Product Id - The images will be exported into subfolders for each product, and each subfolder will be named after the product Id.
Exporting Your Images
Once you've set up the file name and folder format, just click the "Export Images" button at the bottom to start the export.
You'll be taken to the review page, where you can review all the details and preview the images that will be exported.

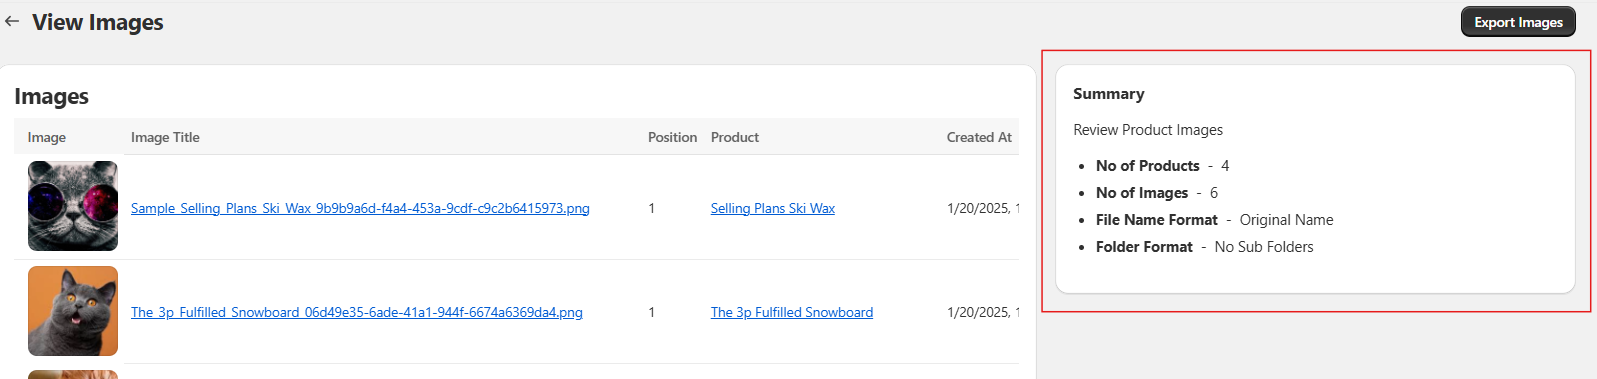
You can also view a detailed summary showing the number of products, number of images, the chosen file name format, and the selected folder structure.
After reviewing the data, click on the "Export Image" button on the top right.

Tracking Export Progress
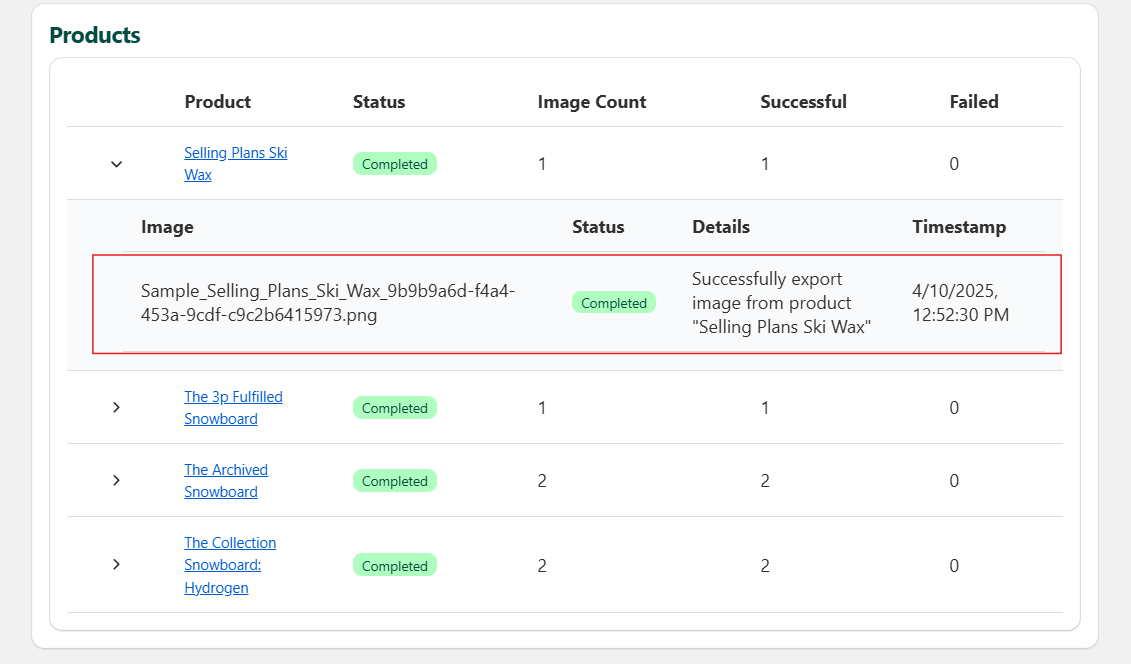
You'll be taken to the background job info page, where you can view the logs and track the progress of your export.

Here, you can also review the products and images, along with the status of each image export.
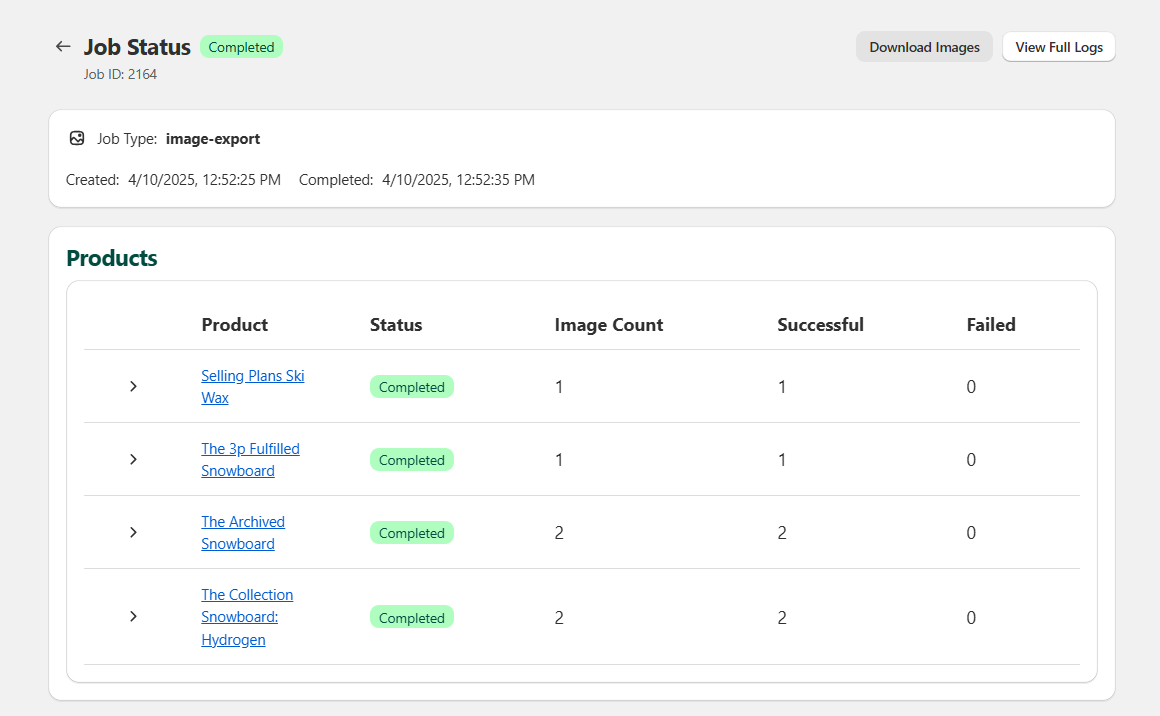
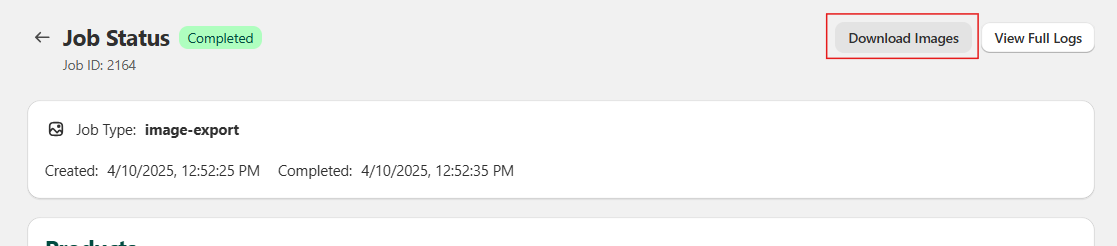
Downloading Your Images
Now, just click the "Download Images" button at the top right, and your images will be downloaded as a ZIP file.
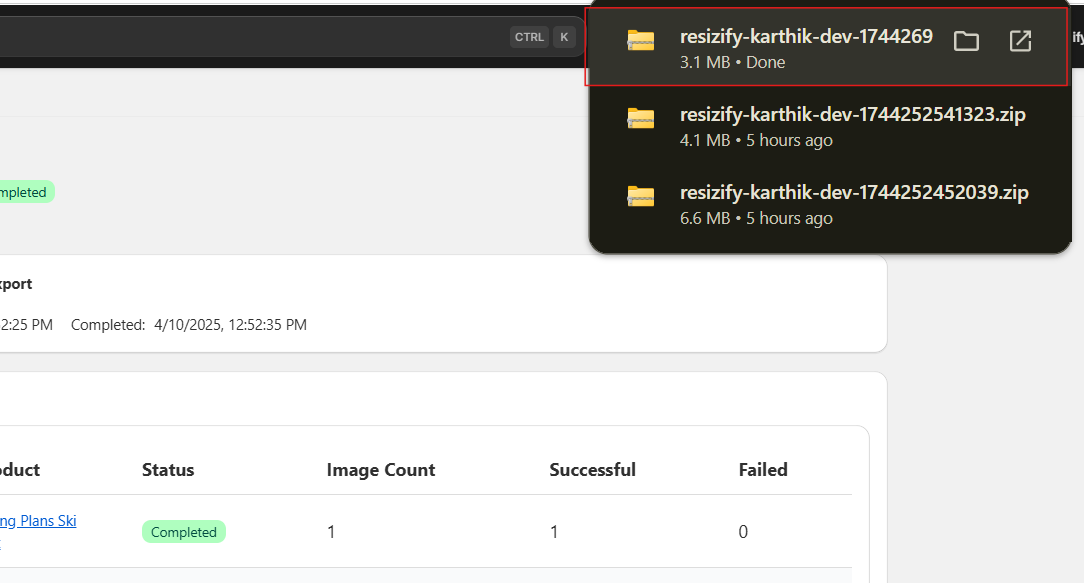
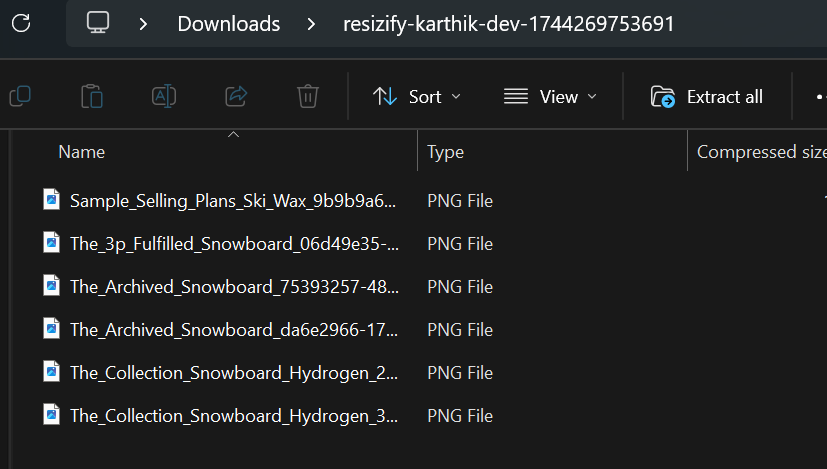
And there you go — your images have been successfully exported and are ready for you to use!